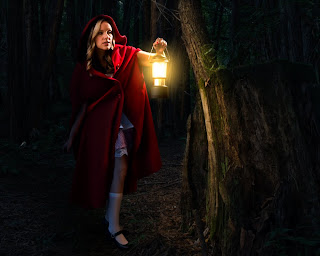
OK, so I posted a photo of a nice young woman as Little Red Ridinghood and I got a request from the lovely Kathleen on how I did the post processing. Kathleen won’t let me shoot her, but she wants to know all about the process. Oh well. I’ll get you Kathleen!
The most important step is really the first one. When you take the photos of the background and model you really have to visualize the finished product. Sure, I could have shot the model in the forest, but I needed a power source for my lights and my model didn’t want to hang around a spooky forest at night while wearing a sexy Red Ridinghood costume. Can’t say I blame her.
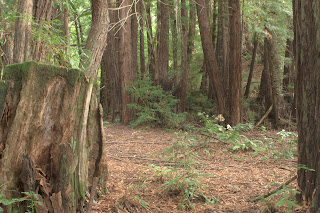
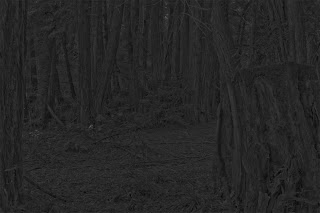
When shooting the background plate, my idea was to bracket my exposure and render the final image using an HDR method. By a stroke of dumb luck, I didn’t need to. At the time, I wanted the scattered sunlight coming through the trees in the hope it would give the illusion of moonlight after the post processing. I shot in 1-stop increments from -3 stops to +1 stop at f/16 with a tripod and shutter release cable. I moved around and shot 4 possibilities that I thought would work.
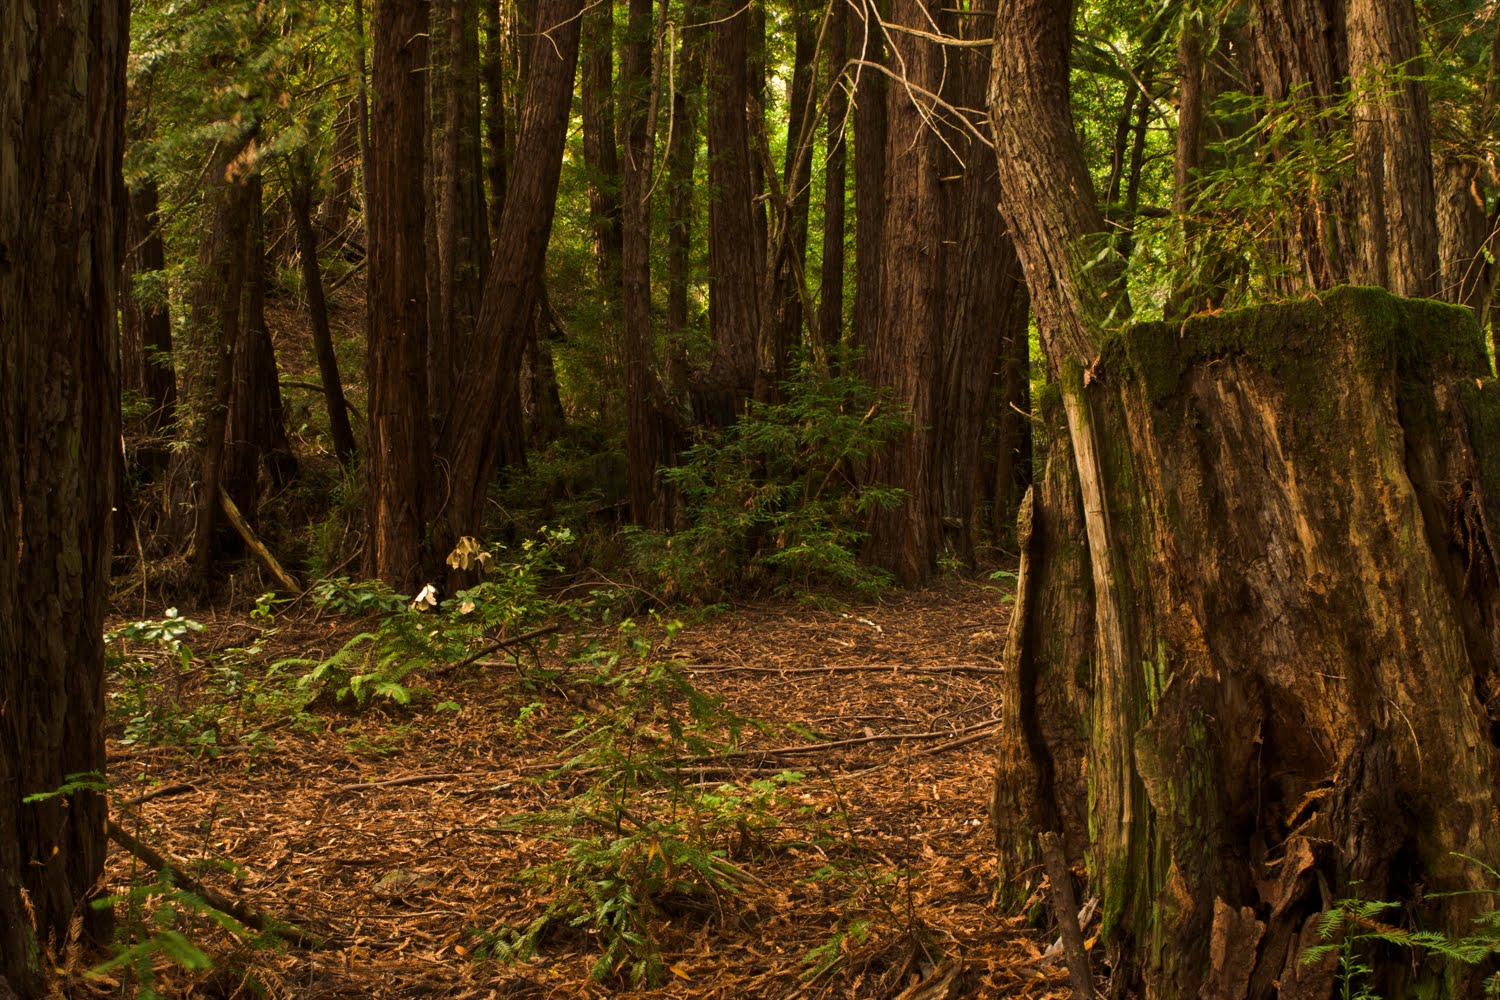
After I got home and started to process them, I instantly recognized 2 things: HDR was not the way to go and the sunlight coming through the trees still looked like sunlight even underexposed by a few stops. But fate was smiling on me. On the last of my 4 locations (the one I decided I liked best), one frame didn’t have sunlight. Clouds had blown in front of the sun for just a moment and diffused the light, and diffused light means lower contrast. Usually low contrast forest photos look dull and lifeless and this one was no different. But it gives me near complete control in the post processing. By even more luck, the photo was overexposed by a stop which gives me detail in the shadows and reduces noise. Since the frame was overcast, I didn’t have blown-out highlights, which means I can under-expose the frame in Photoshop.
I should say here that I always shoot in RAW mode and for this tutorial, that is important. If you’ve never shot RAW, give it a try, especially if you know you will be doing lots of post work.
Also, one thing to note: This image is flipped in the final composition. The reason being is because I knew that I would shoot my model in a room with a vaulted ceiling on the left, but here the diffused light is coming from the right. I needed to match the light, no matter how subtle and flipping a person always looks strange to me.
Open the forest shot as a smart object in Photoshop. In your layers pallet, right-click to the right of the thumbnail and select “New Smart Object via Copy.” Do this one more time so you have three layers of the same image. Rename the top layer “Light,” the middle layer “Overlay” and the bottom layer “Dark.”
Double-click the “Light” layer to open Adobe Camera Raw. Change the white balance to “Cloudy.” Increase the contrast, clarity and vibrance all to +100. Leave everything else alone for now and select “Done.” (you can always double-click the layer and change these settings later). Add a layer mask and fill it with black to hide the layer.
Double-click the “Overlay” layer. Reduce the contrast to -100. Increase the fill light to +75 and the recovery to +100. Select the HSL/Grayscale tab and check the box that says “Convert to Grayscale.” Select “Done.” Change the blend mode of this layer to “Overlay.”

Double-Click the “Dark” layer. Change the white balance to “Tungsten.” Lower the exposure to around -2 stops. Lower the contrast to -50. Increase the recovery to +100. Lower the vibrancy to around -50 or until it looks like moonlight. Select “Done.”
You should have an image that looks dark like it was taken at night. You can always double-click any of the layers to play with settings until you get the look you want. Each photo is as different as each photographer. Now the fun part.
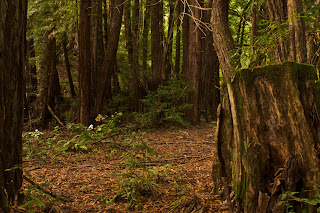
Click the layer mask on the “Light” layer. Select your brush tool and pick a soft brush. Change your foreground color to white and the brush opacity to around 25%. Start painting away and you will see light right before your eyes. Wherever you paint white, the light will appear and where you paint black, the dark night will show through. On my image I took care to make sure the light fell in a realistic manner, meaning it doesn’t wrap too far around trees and it’s brightest closest to the source. The below image is just my "Light" layer.
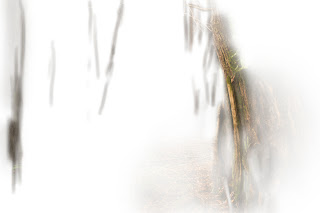
Source? There is no light source in this photo. Yet.
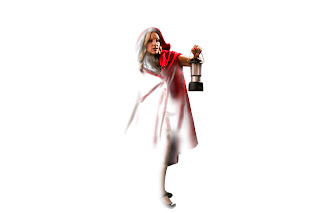
I shot the model with two lights. One is from camera left and is diffused with an umbrella and a shower curtain. This was my moonlight. My other light is from camera right and a little behind the model. It’s just over her left arm and pointing down at her face. This is for the illusion of light from the lantern. I know it’s not very realistic, but I only need to fool the audience for a moment.
The processing was done exactly the same as the background plate. Blow is just the lit part of the model.
Group the three layers make a cutout of her using layer masks (see my previous tutorial on that at http://solisphotography.blogspot.com/2010/04/how-to-shoot-pin-up-part-2.html). Drag the group of layers from this image to the forest image and resize to fit your scene. Fix any lighting on her and your forest. All that’s left at this point is to add a yellow glow with a soft brush and a shadow of her from the lantern. Use a light touch here. A little goes a long way.